Vivitar 35ES – Results

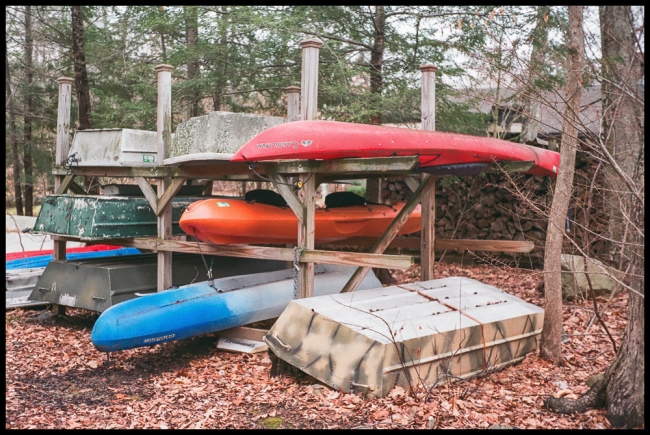
This is my October 2017 film camera. It’s taken me a very long time to complete this roll of film. As you can see from the picture above I started to use it towards the end of November, 2017 (today is 6 February 2018)! There a number of reasons for this. First my wife had a serious car accident December 1. Our car was totaled, but thankfully my wife received only bumps and bruises – painful, but not life threatening. However, she needed to be tended for a while so I wasn’t able to get out much. Just as she was starting to recover the weather got really cold and I didn’t feel like going out. Then one day while making a fire I managed to drop a fairly heavy log onto my sock-covered foot. That slowed me down for a while.

It’s still cold, snowy and icy so I’m still not getting out that much, but I’m hoping to do so more in the near future.

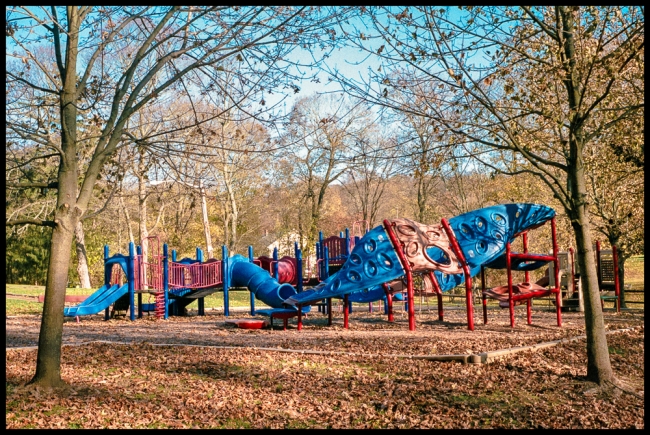
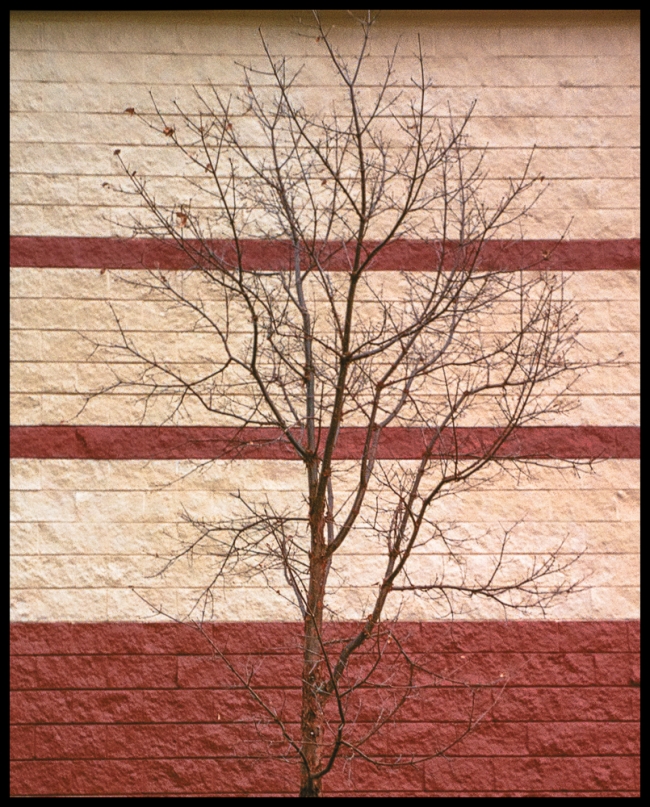
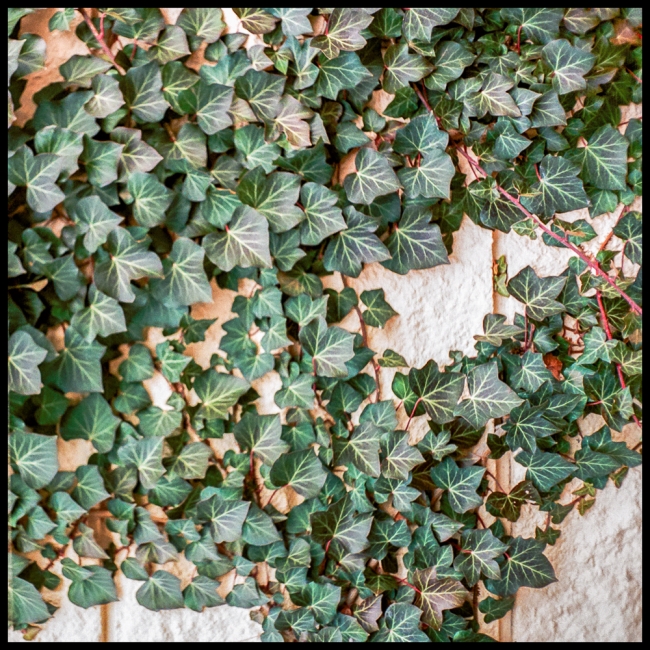
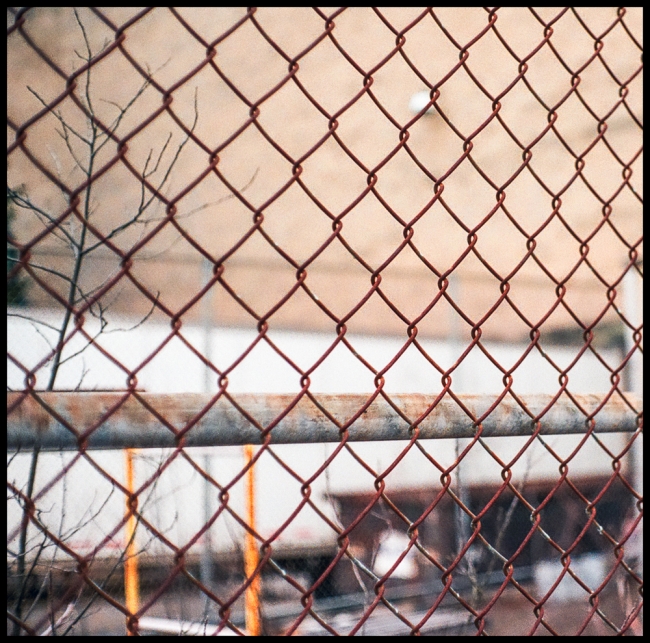
Generally I think the camera performed very well. I, however, made a number of “rookie” mistakes. I missed one frame because I forgot to remove the lens cap (I guess I haven’t used a rangefinder camera in a while). Then on a couple of occasions I rested my finger on the top of the camera in such a way that it prevented the film from advancing correctly and caused a few inadvertent double exposures (at least one of which was quite interesting). At first I didn’t realize what was going on. I heard a strange grading noise, but didn’t make the connection with the location of my finger.

As mentioned in the earlier post the viewfinder is surprisingly bright and the rangefinder patch fairly clear. This is not always the case with compact rangefinder cameras of this vintage. Often the viewfinders are dim and cloudy.

The lens is every bit as good as internet reviewers say it is. Exposure was as anticipated.

So the camera did everything asked of it. Unfortunately, I didn’t altogether enjoy the experience. My first serious film camera was a Minolta Hi-Matic 7sii. It was a gift from my wife early in our relationship and I have a very strong emotional attachment to it. When I started collecting cameras I thought I would build a collection of similar compact cameras. I now have a number of them.

I suspect, however, that my aging eyes are no longer up to cameras like this. Even though the viewfinder is bright and the rangefinder patch was pretty clear, I had difficulty using the rangefinder – more difficulty than I’ve had with vintage SLRs.

Moreover, I’m not convinced that rangefinders are the best option for my type of photography either. I think of rangefinders being best suited to genres like street photography where you need something small, light, unobtrusive and where you can see things moving into the frame (think Henri Cartier-Bresson). Unfortunately that’s not my type of photography. I tend to take pictures of things that don’t move: old buildings, old objects, still life, landscapes etc. It’s only taken me nearly 40 years to figure this out.

I’m not going to give up on rangefinders yet though. I’d like to try a rangefinder with a larger viewfinder (e.g. I have a Canon P; A Voigtlander Bessa R2 and some others). If that fails then I can see an autofocus SLR in my future.

October Film Camera – Vivitar 35ES

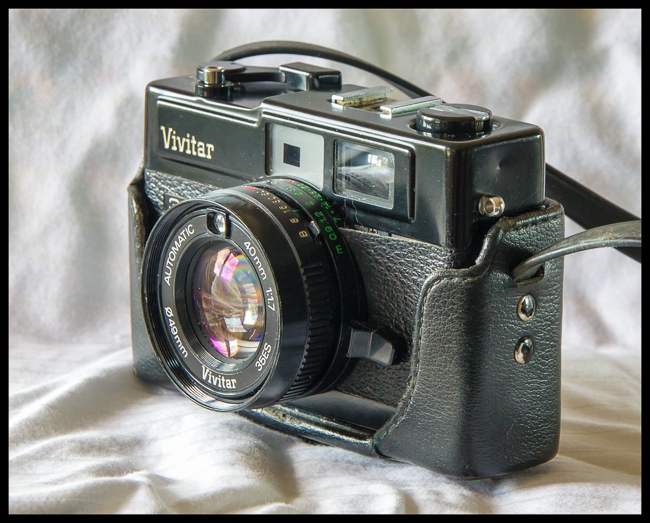
When I first started collecting cameras I decided to start with 1970s vintage compact rangefinders. This was because my first serious camera (given to me by my wife) was a Minolta 7sii (which bears more than a passing resemblance to the camera above. In fact the half case in the picture in from the Minolta and it fits perfectly). This is now the ninth in my series of “Monthly Film Camera” posts and looking back I was surprised to find that so far non of them have been 1970s vintage compact rangefinders, and only one (the very first: a Fuji GS45S was even a rangefinder). So to rectify this omission here’s a compact rangefinder from around 1978: the Vivitar 35ES.

There are already a few good reviews on the internet:

So I’ll try not to duplicate the information found in them.

The consensus of these reviews seems to be that this is a well built camera with a great lens, but which is otherwise uninspired. So why did I get get it?

It all goes back to my beloved Minolta 7sii. I loved this camera, but since I like black cameras I would have preferred it in black. At that point I didn’t even realize that there was a black version of the 7sii then one day I bumped into a picture of one. Wow! Unfortunately it’s quite scarce and rather expensive so I decided I’d have to get along without it. Then I came across this camera. It looked very much like the 7sii and offered a similar feature set (except for the fully manual operation of he 7sii, which I don’t recall ever using in any case) …and it was black and much less expensive. So I decided to get one.

My first attempt was a failure. Although advertised as being in working condition, in fact it wasn’t. I did much better with this, my second attempt. Cosmetically it’s in good shape and everything seems to be working. In fact the viewfinder is significantly clearer than that on my Minolta. The leather is lifting up in a couple of places, but that’s an easy fix.

I’m eager to give it a try. Results to follow.

Picture taken with a Sony Alpha 500 and Tamron A18 AF 18-250mm f3.5-6.3.

September Film Camera – Canon EOS 888

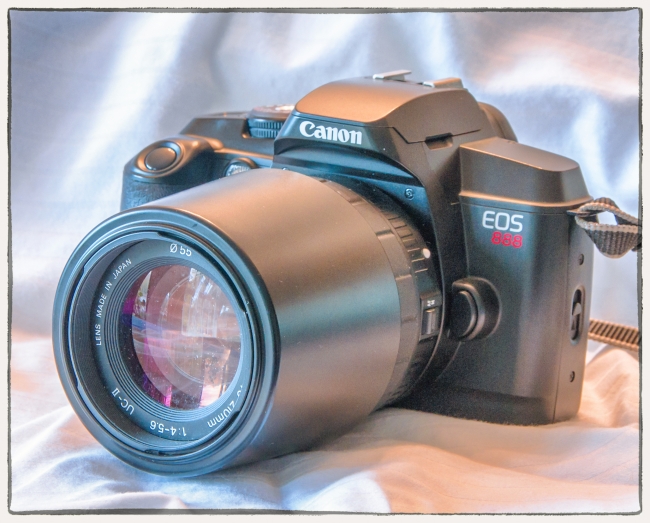
This camera was given to me by an good friend. He’s not all that much into photography and I imagine that if he wanted to take pictures, he would be unlikely to ever use a 1995 vintage film camera. In fact the camera is in such great condition that it looks as if it’s rarely been used at all. If he’d ever used it it would probably have been perfect for him: an easy to use camera aimed at entry level users. It is the kind of camera to bring along to family occasions, use while travelling etc. when you want to capture some pleasant memories without breaking the bank.

It’s a Canon EOS 888 (also called EOS 5000) in some markets.

The bulk of its functionality is controlled by a large dial on top of the camera. It uses 6-zone evaluative metering (or 9.5% partial metering at the centre) linked to the focus points, as is the three zone flash metering.

The camera has fully automatic exposure control, with no manual option.It also has shutter priority automatic exposure, where you set a shutter speed and the camera selects an appropriate aperture. Shutter speeds from 1/8 sec to 1/2000 appear on the selector dial, but in full auto mode the shutter can go down to a full 2 seconds.

It’s quite small and lighter than most SLRs. Clearly a lot of plastic was used in its construction, but it still feels quite solid.

If you don’t want to use the fully auto mode, or the shutter priority AE you can simply select one of the four Program Image Control (PIC) modes: Portrait, Landscape, Close-up or Sports. Like the fully auto mode these modes control both the shutter speed and the aperture.

Advanced Integrated Multipoint (AIM) control allows the camera to adjust to meet the photographers intentions. For example, if your subject is to the left of the picture, the focusing sensor on the left will be used. This will activate the exposure sensors on the left of the camera, so that the light reading is also taken from this area, rather than from the centre.

The built in flash uses through the lens (TTL, ISO guide number of 12m at ISO 100) metering linked to the selected focus point.

The viewfinder has indicators for partial metering (AE lock); correct exposure (blinks when exposure is bad); and correct focus. The top panel LCD displays the number of frames remaining; self-timer seconds remaining; and the aperture when in shutter priority mode. There’s also a battery level indicator. The camera takes two CR123A Lithium batteries.

The camera features the typical Canon quick load capability. Just pull out the film leader to the clearly marked point, close the back and the camera automatically advances the film. I was surprised to find, however, that the camera advances to the end of the roll, and then counts down as you shoot. ISO is set automatically (i.e. no option to change it manually) from ISO15 to an ISO of 2000.

A quartz date model was also available. However, it’s only programmed to 2019.

The camera came with a Sigma 70-210mm f4-5.6 UC-II.

For results see Canon EOS 888 results.

August Film Camera – Olympus OM2-n MD

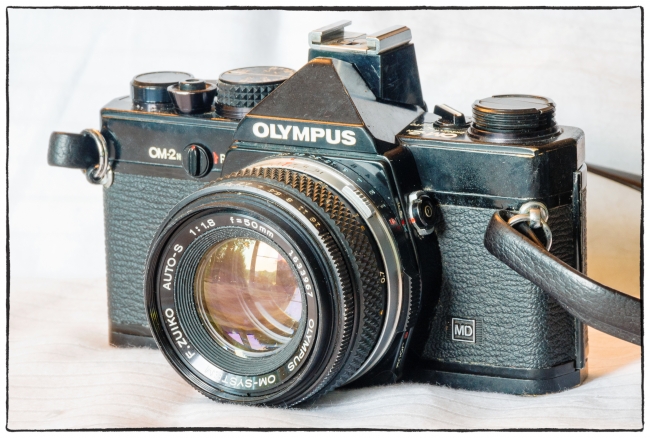
Much has been written (I’ve included links to four pieces below. I particularly like the Mike Eckman article for its honest take on the camera; and the Photography in Malaysia article for its wealth of technical detail) on the Olympus OM cameras including on the OM2-n. Mine also supports a motor drive, hence the designation OM2-n MD.

It’s small and light weight for a camera of its time Compared to modern cameras it feels solid and well built but a little heavy compared to modern cameras.

On top of the camera there’s a lever for off, manual and auto. On the rear there’s a red battery check light, which when you move the lever to the very top remains steady when the battery is fresh, and blinks when it’s getting low.

There’s an exposure compensation (two stops over and under) dial on top (where the shutter dial is usually placed). The rewind lever and the self timer are on the front of the body – to the right.

There’s a flash synch (F,P,X) socket on the left of the lens mount. Most of the pictures I’ve seen of this camera show it without a flash shoe. Mine has one, so I assume it was an optional accessory. Mine bears the words “Shoe 4“. The third article below (i.e. the one from “Photography in Malaysia” provides the following information:

Shoe 4 should be the correct shoe type for all OM-1n and OM2n bodies. It permits manual and normal auto flash control But in the case of OM2n bodies, it will perform TTL flash exposure control; further, it will automatically sets X-sync at the shoe, and via a third contact to provide viewfinder flash ready/sufficient flash LED. Is it possible to use Accessory Shoe Type 1 or “Fix” type shoe on OM-1n bodies ? Yes. Because the Shoe 1 has only one pin and thus it is not possible to use those two pins accessory shoe(s) with earlier OM1 or M1 bodies which has only one socket. In the case of the original OM2 model which has two inputs, Accessory Shoe 2 should be the right type to use with older Quick AUTO 310 TTL flash.

The viewfinder is large and bright and has a split image focusing aid. The viewfinder display changes depending on the mode selected: Manual shows only + and -, automatic shows shutter speeds from 1-1/1000 second.

The shutter seems to be quieter than I’d normally expect from an SLR from that period. It’s electronic and will only fire with a battery.

The back is interchangeable as is the focusing screen.

There’s no shutter dial on top of the camera. Everything is on the lens: aperture, shutter, depth of field. I guess the idea was to have all of the controls in one place. This is convenient but since the lens itself is quite small it means that it can be hard to locate the right dial when you want it. I imagine you’d probably get used to it though.

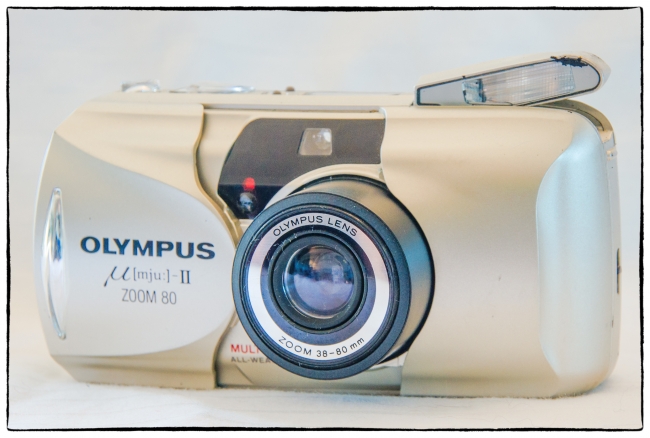
July Film Camera – Olympus Mju (Infinity Stylus) II Zoom 80

Unlike the Mju (Infinity) and Mju II (Infinity Stylus Epic), which both have fixed 35mm lenses (at f3.5 and f2.8 respectively) this one has a 38-80mm, f/4.5-8.9 zoom (5 elements in 4 groups) focusing to two feet and with apertures from f/4.5-8.9. I bought it at a nearby Goodwill store for the astronomical price of $1.99 in great cosmetic condition.

There’s not really a lot you can say about this camera. It’s a pretty standard Olympus camera of the period with a sleek, still fairly modern (it was manufactured from 1999-2003) look. It’s small and fits easily into a pocket and has the standard sliding door design. Slide the door to the right and with a whir the lens extends and a flash pops out.

The camera top has rocker switch which allows you to zoom the lens. When you do the lens extends about an inch more bringing its total length to about two inches. Right next to the zoom switch is the fairly large shutter release, and to the left of that a couple of small buttons, one of which controls the self timer and remote, and the other the flash (on, redeye reduction, off). This latter button also allows you to set an infinity mode and a night scene mode. Between these two buttons and the flash sits a small LCD, which shows which frame you’re on (or ‘E’ of if no film is in the camera) and also displays the various icons indicating which options (flash, self timer etc.) you’ve chosen. I have the quartz date version so the LCD also displays the date and time.

Just behind, and a little lower than the LCD is a viewfinder and two small buttons (mode and set) for setting the quartz date options. The viewfinder has no framelines, but it does have marks for parallax concentration. It’s fairly bright and clear and displays a central cross.

When you half-press the shutter release one or both of to LEDs light up. A green LED indicates that focus has been achieved, and an orange one warns of a slow shutter speed (suggesting that flash should be used or the camera stabilized).

The rear door has a small window to show you what film is in the camera. Film loading is easy: pull up on a small tab on the left side of the camera and the back opens; put in the film; extend the leader and then close the door. The film then advances to the first frame and a number ‘1’ appears in the LCD on top. ISO (50-3200) is set automatically based on DX code (if the film is not DX coded a default of 100 is set). After the shutter release has been pressed the film advances automatically and when you reach the end of a roll rewinds automatically

There’s a tripod socket on the right side of the base, a film plane indicator to the left and right next to it a tiny button for rewinding the film mid-roll. On the right side of the body a door to the battery compartment opens to allow you to insert a single CR123 battery. Some models have a panorama switch, but apparently mine doesn’t. That’s OK as I wouldn’t have used it anyway. The camera claims to be weather proof.

That’s really about it.

Using it was easy and everything appeared to work as anticipated (of course I won’t really know until I get the film back). The viewfinder was, in my opinion, better than that of last month’s Mju I. Even with my glasses on I could see the entire frame and both LEDs. I have the usual complaint (common to all Olympus Infinity models I think) that when you turn on the camera it defaults to having the flash on. So if you don’t want it on (which I don’t almost all of the time) you have to remember to turn it off. I also have my usual quibble about all point and shoot cameras i.e. that it bothers me that I don’t know what aperture/shutter speed the camera is selecting.

I’ve read that there’s a more serious problem with this camera. Apparently over time the light baffles around the lens deteriorate and let light in. This seems to be a common problem, but of course I won’t know if mine suffers from it until after the film has been developed. Apparently there’s no easy solution for this problem.

Jim Grey has an interesting review of this camera on Down the Road. In his initial paragraph he writes:

I wonder if the Olympus Stylus Epic Zoom 80 ever really had a chance, given that it was introduced in 1999. Within a few years everybody who bought auto-everything 35 mm cameras like these would be ditching them for digital cameras. If the number of these cameras available on eBay at any moment is an indication, Olympus sold a ton of these cameras. That they all seem to be in like-new condition says a lot about their unfortunate place on photography’s timeline. This camera’s time in the sun was so short that many of them show up on eBay with marketing stickers still on their faces.